A well-chosen wallpaper can turn an ordinary wall into the most interesting part of a room. But if you’ve ever attempted a DIY wallpaper installation, you already know the result can either look beautifully professional… or incredibly frustrating.
The biggest mistake most DIY-ers make when installing wallpaper isn’t choosing the wrong pattern or even hanging the paper incorrectly.
It’s rushing the preparation.
Most wallpaper projects fail before the first strip even touches the wall. Success has less to do with complicated techniques and more to do with careful prep and a thoughtful starting point.
If you're planning your first wallpaper project, here are three foundational steps that make the process far smoother, and the result far more professional.
Step 1: Prepare Your Walls For Wallpaper
Preparation might not be the most exciting part of wallpapering, but it is easily the most important.
Wallpaper adheres best to clean, smooth, and properly primed walls. Any dust, uneven texture, or small imperfections will show once the paper is installed.
Start by wiping your walls with a damp cloth to remove dust and residue. Even if the wall looks clean, invisible particles can affect how well the adhesive holds.
Next, fill any nail holes or dents and lightly sand the area so the wall surface is smooth. Once that’s done, apply a wallpaper primer.
Primer serves two important purposes. It helps the wallpaper adhere properly during installation, and it makes removal significantly easier if you decide to update the space in the future.
Before you begin hanging the paper, set up a clean, flat work surface where you can measure and cut your strips. Having all your tools within reach also helps the process flow much more smoothly.
One final detail that makes a difference: always start with a brand-new blade in your utility knife. Sharp blades create clean edges and prevent tearing while trimming.
Step 2: Choose the Right Starting Point
One of the most surprising things about wallpapering is that corners are rarely straight. Even in newer homes, walls can be slightly uneven.
If you start your wallpaper installation directly in a corner, the pattern may slowly drift out of alignment as you continue across the wall.
Instead, create your own perfectly straight reference line.
Measure the width of your wallpaper roll and subtract about one inch. From your starting corner, measure that distance along the wall and mark it lightly with a pencil.
Using a spirit level, draw a vertical line at that point. This line becomes your guide for placing the first strip.
Rather than aligning the wallpaper to the corner, align it with this line. The extra inch simply wraps slightly into the corner, allowing the rest of the installation to stay perfectly straight.
It’s a simple trick that makes a huge difference in the final result.
Step 3: Measure, Match, and Smooth
Once the first strip is installed, wallpapering becomes a steady rhythm of measuring, matching patterns, and smoothing the surface.
When placing the next strip, start by aligning the pattern at eye level. This is where pattern mismatches are most noticeable, so getting it right here helps the design flow naturally across the wall.
Always leave about one to two inches of extra paper at the ceiling and baseboard. This allows you to trim clean, precise edges once the strip is in place.
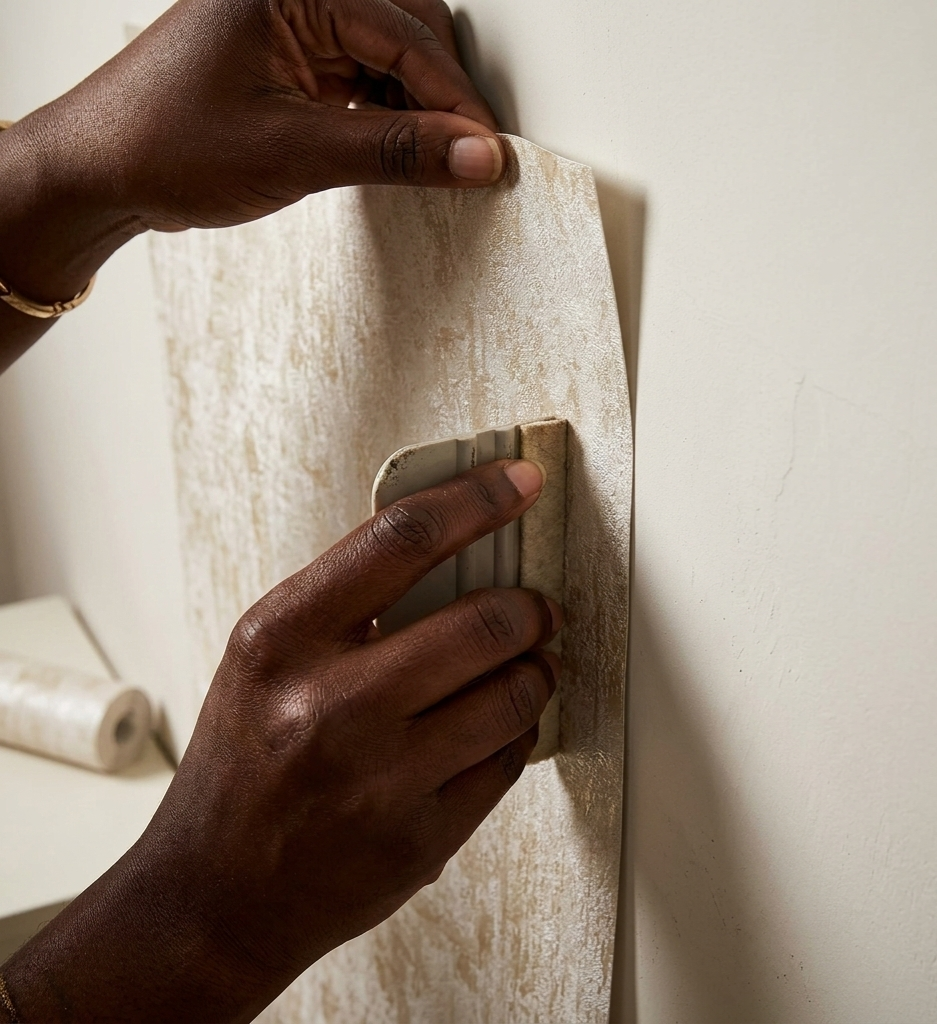
Use a smoothing tool to press the wallpaper against the wall, working from the center outward. This pushes any trapped air bubbles toward the edges and creates a smooth finish.
Keep a clean, damp sponge nearby to wipe away any excess adhesive as you work. Removing paste immediately prevents marks and keeps the surface of the wallpaper looking fresh.
The Result

What started as a blank wall becomes a feature that adds warmth, texture, and personality to the entire room.
And the best part? Once you understand the process, it’s far less intimidating than most people expect.
With the right preparation, a thoughtful starting point, and a little patience, DIY wallpapering can produce results that feel polished, intentional, and beautifully finished.
And once you see the difference it makes, it’s easy to understand why wallpaper has become one of the most powerful tools in interior design.
Ready to start your wallpaper project? Explore our collection of wallcoverings designed to make installation easier and the results even more beautiful.